

False lashes give you an instantly dramatic eye look! If you want to try strip lashes, they’re easy to use. Make sure the lashes are the right size for your eyes, then do your eye makeup however you want and apply the lash strips. You can wear them all day long, and then simply pull them off with tweezers when you’re done.
Step 1: Fitting and Prepping the Lashes
1. Hold the strip lash up to your eyelid to see if it’s the right size.
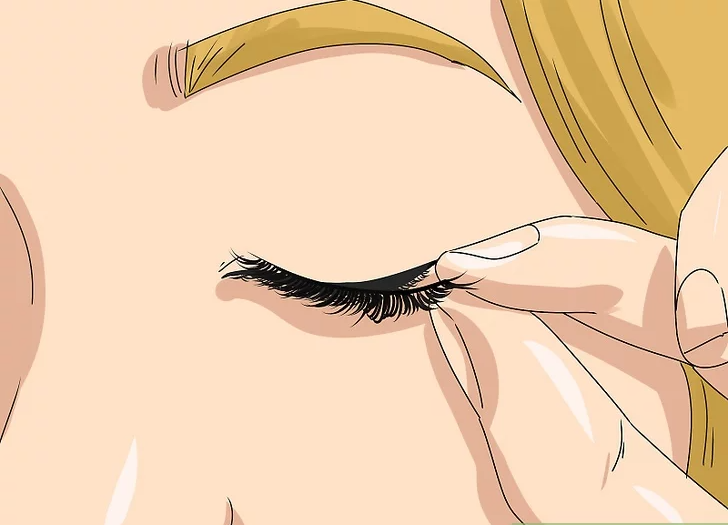
Before you apply any eyelash strip adhesive, check to see that the strip lash is the right size for your eyes. Hold the lash strip up to your upper eyelid and place it against your lash line so it’s right on the edge of your eyelid. The whole strip lash should fit on your eyelid and match up with your natural lash line.
- If the lashes are too long for your personal taste, consider trimming the individual lashes down to achieve a more natural look. Lashes should be longer toward the outer corner of the eye.
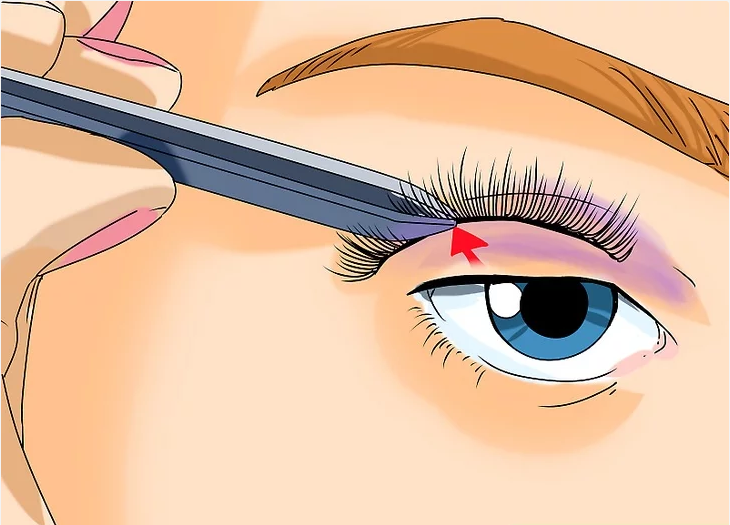
2. Trim the strip with a pair of scissors if needed.
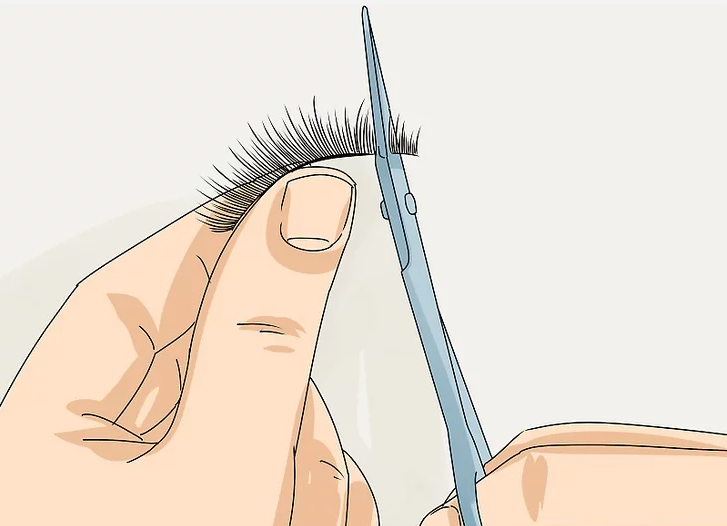
Use a sharp pair of small scissors to cut across the strip. Trim it down to the desired size for your eyelid. Cut straight across the strip at a perpendicular angle going from the outside to the inside of the lash strip. This is important so that you don’t cut off part of the remaining lashes.
Safety Precaution: Make sure that the scissors you use to cut the lashes are clean. Using dirty scissors may introduce harmful bacteria to your eyes.
3. Wrap a new lash strip around your finger to soften the spine
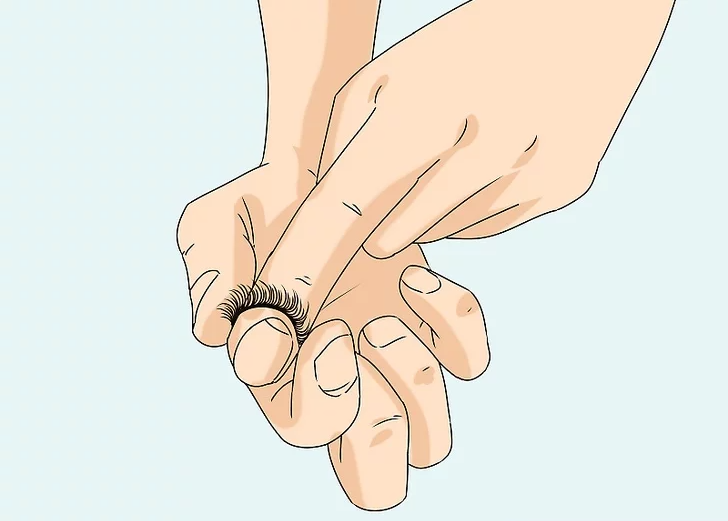
If the lash strips you’re applying are brand new, soften them up to improve the fit. Place 1 of the lash strips on your index finger between the knuckle and fingernail. Press the strip around your finger and hold it there for about 10 seconds to shape and soften the strip.
- Repeat for the second lash.
4. Remove the old adhesive from the strip if you’ve worn it before.
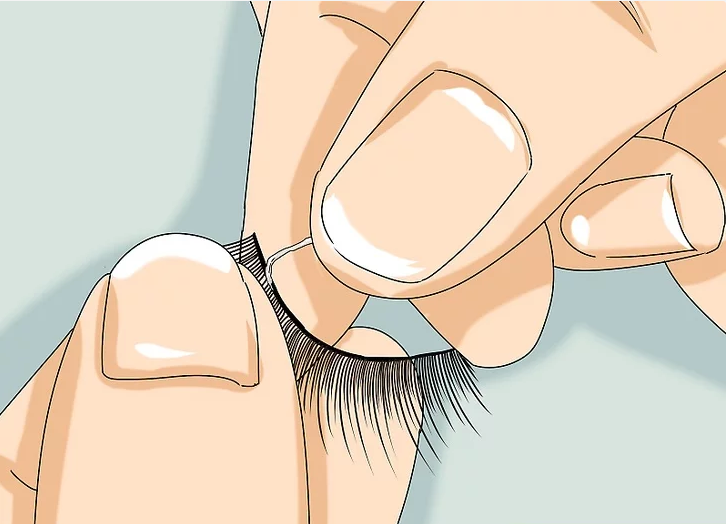
Look at the lash to see if there is any old adhesive stuck to it. Grasp the adhesive with your fingers and pull it away from the strip. It may come off in 1 piece or you may need to pull off multiple small pieces of leftover adhesive.
- Repeat for the other lash.
Step 2: Securing Strip Lashes
1. Do your eye makeup before you apply the lashes.
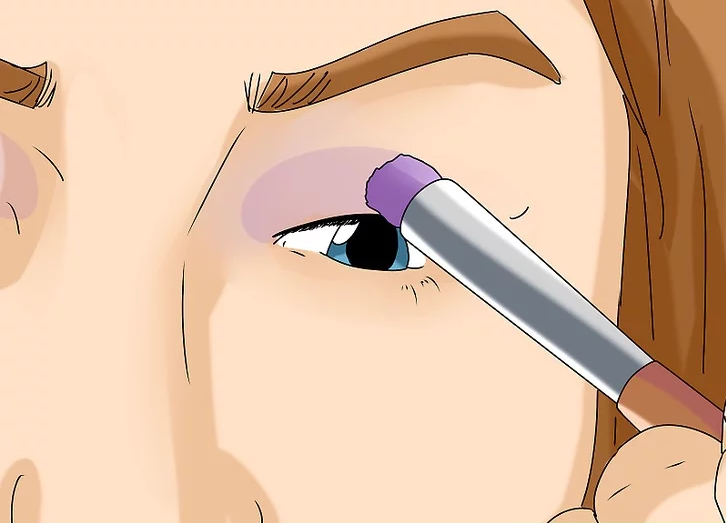
You won’t be able to apply eyeliner or eyeshadow as easily after you have the lashes on, so do your eye makeup before you start applying the strip lashes. You can wear eyeliner, eye shadow, or a combination of these with strip lashes.
2. Apply the lash glue to the outer seam of the eyelash strip with an applicator or small brush.
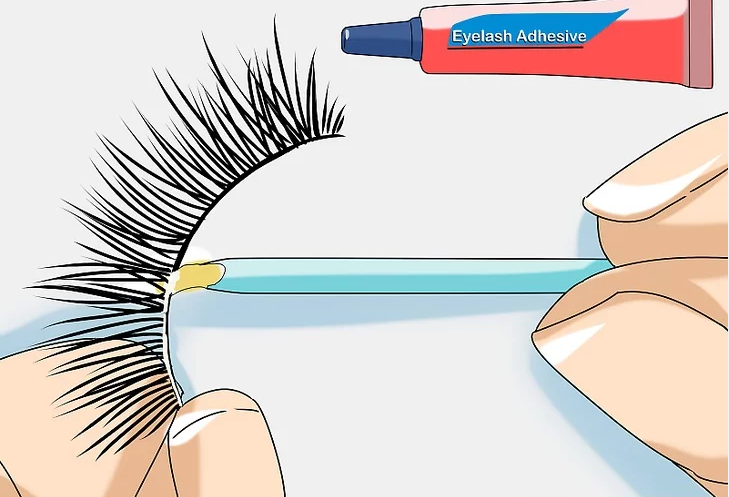
Squeeze the eyelash adhesive tube to dispense a dot of glue at the tip. Then, rub the edge of the strip along the tip of the dot at the end of the adhesive tube. Distribute the glue evenly along the strip. Then, wait 30 seconds to allow the glue to get a little tacky before applying the lash strip.
- Be careful not to get the adhesive on the lashes.
- Do not blow on the lash strip after you apply the glue! This will introduce bacteria and it may cause the lash strip adhesive to dry too quickly.
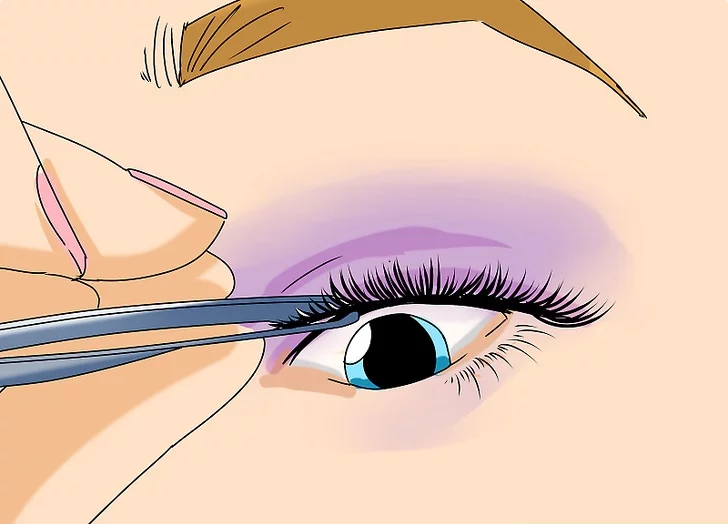
Once the glue is distributed evenly along the strip, position the strip on your eyelid right along your lash line. Make sure that the adhesive is facing down towards your eyelid. Use your fingers or a pair of tweezers to press the strip down gently along your lash line.Make sure to keep your eyes open while you’re doing this!
- You can also use tweezers or a cotton swab to press the lashes against your natural lashes. Just be careful not to poke yourself in the eye!
3. Repeat to attach the other strip.
Once the first strip is secured to your lash line, repeat the same process to attach the other strip lash. Position the second strip lash in the same way as the first lash. Compare the positioning of the 2 lashes by looking in a mirror to ensure that they’re symmetrical.
- Wait 5 minutes after applying the second lash if you want to touch up your makeup or apply mascara to the lashes. An extra coat of mascara and some black eyeliner along your lash line will help to hide the edge of the strip.
4. Apply mascara to your lashes.
This will help blend your natural lashes with the false ones, achieving a more natural look. You can use black, brown, or dark gray mascara.
Step 3: Removing and Storing Strip Lashes
1. Apply false eyelash remover along your lashline
This will help soften the glue on your false eyelashes and make the removal process more gentle on your eyes. First, apply eyelash remover or micellar water to a cotton swab. Then, run the cotton swab along your lashline to apply the remover.
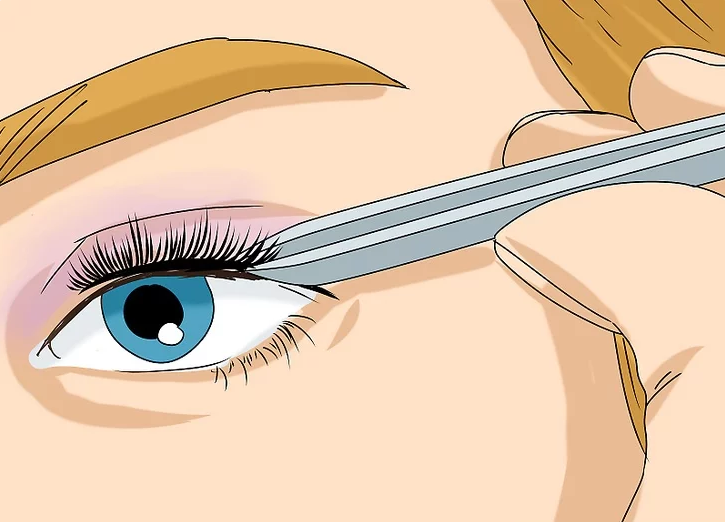
2. Grasp the false lashes near the outer corner with a pair of tweezers.
When you’re ready to remove your strip lashes, grasp the lashes (not the strip) with a pair of tweezers. Aim to grasp the lashes about halfway down their length near the outer edge of your eyelid.
- Be careful not to grasp any of your natural lashes with the tweezers.
3. Pull gently up and towards your inner eye
While squeezing the tweezers, pull the lash strip up slowly and continue pulling in towards your inner eye. Don’t rip the lash off quickly or you may damage it.
- If pulling on the lash strip is difficult or feels painful, stop and apply a small amount of makeup remover or water to a cotton ball. Dab the lash strip with the cotton ball to help loosen it, and then try pulling up the strip again.
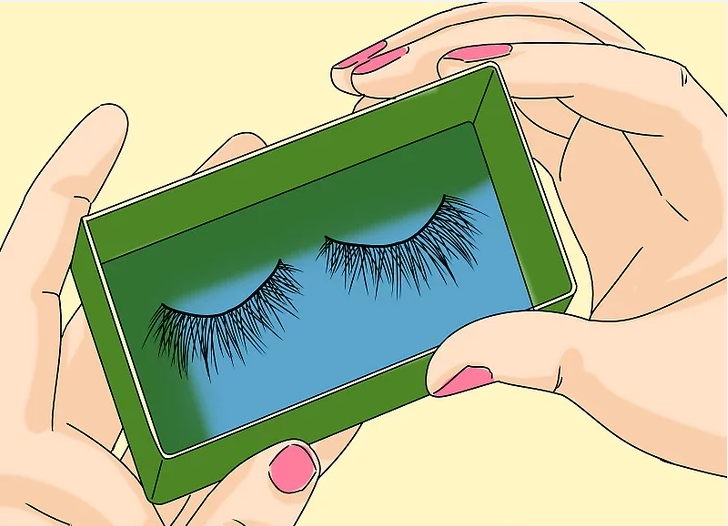
4. Store the lashes in their original box to keep them clean and dry.
After you have removed the lashes, place them into the box that they came in. Place the lash strips onto the curved forms in the box to help the lashes keep their curved shape. Close the lid to keep dust and dirt off of them, and place the box somewhere cool and dry, such as a drawer or cabinet where you store your makeup.
- If you take good care of your lashes, you can wear them 20 times or more, so always store them properly.
Tip: Once the lashes start to lose their shape or fall apart, discard them and get a new pair.